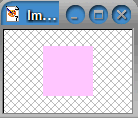


Open a new image 50 by 50 pixels in the color of your choice.
Drag the lower right corner out to surround the color square with dead space.

From the View menu, enable Grid. From the View menu, choose Change Grid Guide and Properties.
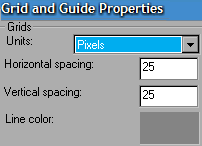
In the Grid and Guide Properties box, set horizontal and vertical spacing to 25 pixels. Choose a line color to contrast with your color square. Click OK.

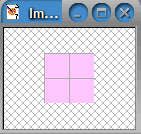
You should now have a color square divided into quarters.
Tap the "Print Screen" key on your keyboard. Mine is just above the "Insert" key and to the right of "F12." Right click on your PSP workspace and choose Paste as new image.
From the View Menu, choose Grid to disable the grid lines from your pasted image. Your color square will retain its grid lines.

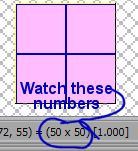
Use the crop tool ![]() to select just the color square and its permanent grid lines. Keep an eye on the status bar to be sure your selection is 50 by 50 pixels. Using the zoom tool
to select just the color square and its permanent grid lines. Keep an eye on the status bar to be sure your selection is 50 by 50 pixels. Using the zoom tool ![]() can make this step easier.
can make this step easier.
Save this image as your background tile. Save it as a jpg so the colors match your final jpg.
Now test your tile in an html document. When you have created a grid, go on to the next part.