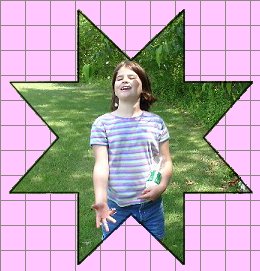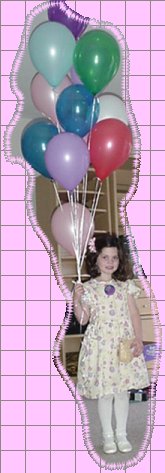

To prepare your jpg follow the steps reviewed here or visit the complete tutorial. Return here to place the prepared image on your tiled grid background.


Use Paint Shop Pro's crop tool ![]() to crop close in to the prepared image.
to crop close in to the prepared image.
Open the layers palette. If your existing layer is called Background, right click on it and choose "Promote to layer." Add a new layer and move it below the first layer. Make the new layer active. Open your background grid jpg.
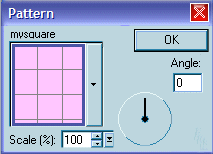
Use PSP's color pallet to make your grid jpg the current pattern.

Use the fill tool ![]() to fill the transparent area of your jpg. Save.
to fill the transparent area of your jpg. Save.
You can close PSP and go to your text editor. Create an HMTL document using your 50 by 50 pixel grid square background.
Think of the browser window as a graph with the upper left corner coordinates 0,0. Each pixel counts as one. When you move down one pixel from the upper left corner, the new coordinate is 0,1. If you move right one pixel from the upper left corner, your new coordinate becomes 1,0. If you move down 50 pixels and right 50 pixels, your new coordinate is 50,50. CSS2 uses this system of coordinates to place objects on the page.
The background tile we created was 50 by 50 pixels. For the jpg to align with the background tile, it must be positioned with its upper left corner a multiple of 50 pixels from the left page edge and a multiple of 50 pixels from the top page edge. For example, it could be 100 pixels down and 150 pixels over.
Cascading Style Sheet Positioning can achieve an exact pixel placement of the image in most modern browsers. Take a look at the highlighted code in the image tag below; it will place the image 100 pixels from the top of the browser window and 50 pixels from the left edge of the browser window.

You can use this style definition with any tiled background. Use multiple of the height and width of the individual tile to set the position of the jpg. Here are some examples.
Cascading Style Sheets are a broad topic—much too big to go into detail here. Here are some links to help you learn more.