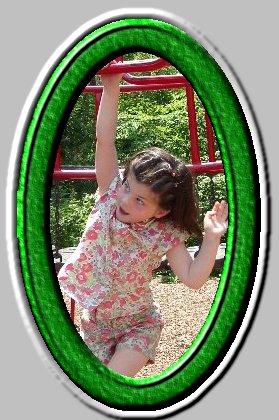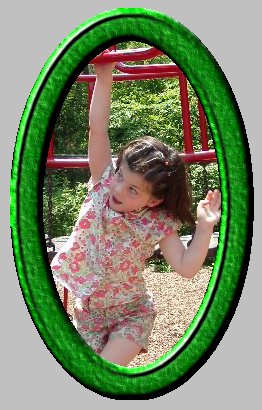

Here is an alternate, mask-free method of creating a transparent jpg, along with a quick method of adding a frame.
Select a jpg from your archives. You may borrow mine by saving it to your harddrive or by dragging it to your PSP workspace.

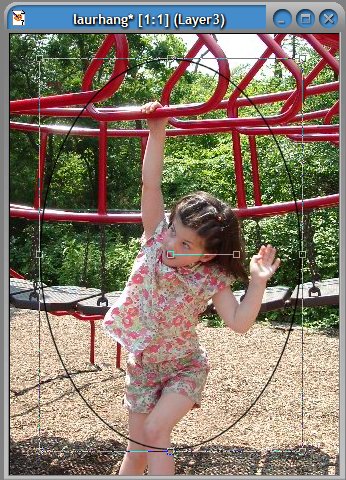
Use the preset shape tool ![]() to isolate the image area you would like to display. Here I chose the ellipse.
to isolate the image area you would like to display. Here I chose the ellipse.
You can use the selection tool ![]() , but I find the preset shape tool easier to adjust. Be sure to leave plenty of space around your selection to accommodate a frame.
, but I find the preset shape tool easier to adjust. Be sure to leave plenty of space around your selection to accommodate a frame.
Open the layer palette and X the spectacles for the background layer. With layer one active, use the Magic Wand tool ![]() to select the shape.
to select the shape.
Create a new layer. With the new layer two active, go to the menu bar and choose:
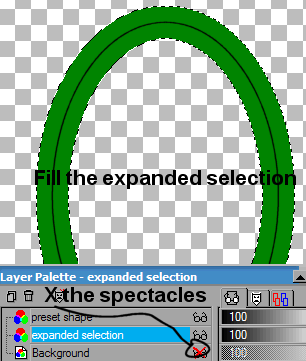
Use the fill tool ![]() to fill the expanded selection with the color of your choice.
to fill the expanded selection with the color of your choice.
Now you can design your picture frame using any effect you like. You may follow my steps or create your own. For this tutorial, I limited myself to tools supplied with PSP7. The possiblities are endless with additional plugins and filters.
I added noise:
And topography:
And Inner bevel:
Inner bevel again:
When you are satisfied with your frame design, use ctrl-D or Selections —> Select None to deselect the expanded selection.
Then use the Magic Wand tool ![]() to select the transparent area outside the expanded selection. Save as a psp image now to be able to change the background in the future.
to select the transparent area outside the expanded selection. Save as a psp image now to be able to change the background in the future.
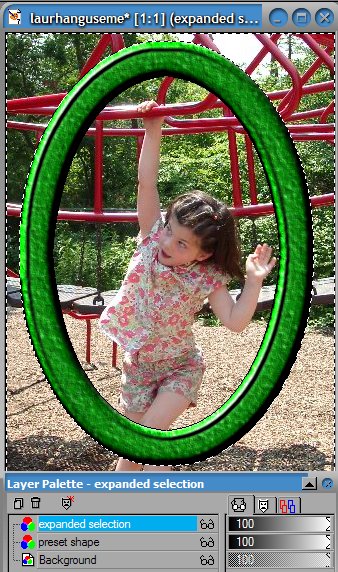
Make your background color, the same color as your web page background.
Note: This technique works best with the browser safe palette for background colors. When browsers interpret custom colors differently, the rectangular outline of your true jpg becomes noticeable.
Note: If you have come to this page from the tiled background tutorial, return there now.
Make your background layer the active layer. Tap the delete key on your computer keyboard. You can use the jpg like this or go a step further.
To create a sort of molded plastic effect around the image, keep the selection and do an inner bevel:
Crop the image and its ready to use as a transparent jpg!
