

If we can have transparent gifs, why not transparent jpgs?
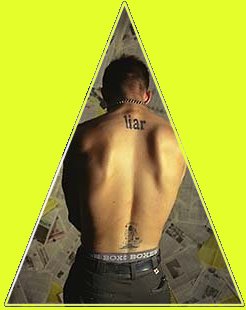
After all, the transparent gif is not truly transparent; it is an illusion.


We can create a similar illusion with jpgs and make our photos more interesting.
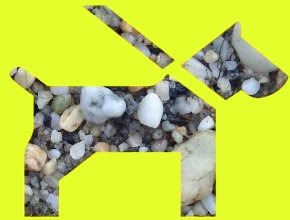

To perform this bit of magic, select a jpg from your archives. You may borrow mine by saving it to your harddrive or by dragging it to your PSP workspace. Make a second copy of the jpg, save it as new jpg and minimize for later.
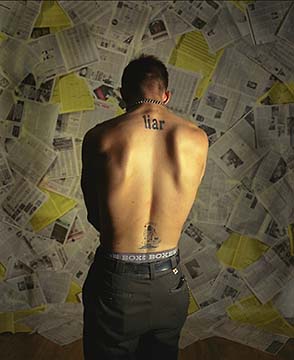
Use the preset shape tool ![]() to isolate the image area you would like to display. Here I chose the triangle.
to isolate the image area you would like to display. Here I chose the triangle.

Note: If you choose one of the preset shapes beyond "Star 4" you may have to fiddle with the settings. For the starfish example above, I used these settings:
Open the layer palette and X the spectacles for the background layer. With layer one active, use the Magic Wand tool ![]() to select the shape. Then invert the selection. From the menu bar, choose:
to select the shape. Then invert the selection. From the menu bar, choose:
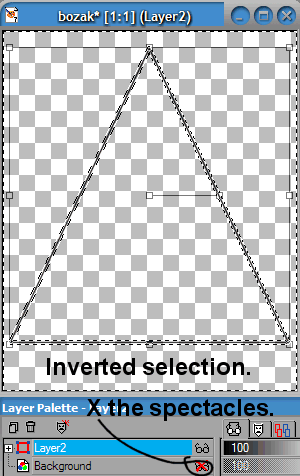
Open the layers palette. Right click Layer One (the layer with your preset shape) and select Convert to raster layer.
Use the fill tool ![]() to fill the negative space (the inverted selection) with solid black. If you haven't already saved your work, save it now as a psp image.
to fill the negative space (the inverted selection) with solid black. If you haven't already saved your work, save it now as a psp image.
At this point, you may do ctrl-D to eliminate selections.
From the menu bar, choose:
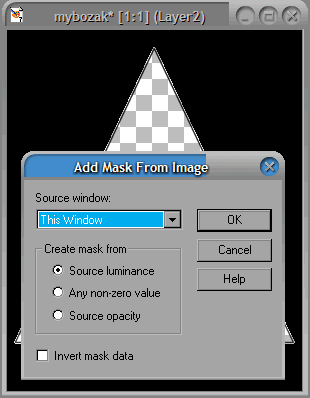
From the menu bar, choose:
This will reveal the transparent area for your jpg surrounded by a pale red mask.
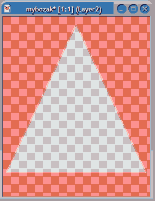
From the menu bar, choose:
The preview screen should show your mask. If it does not, look in the available documents pull-down menu for your doucment name. Click OK. Give your new channel a name. Click OK again.
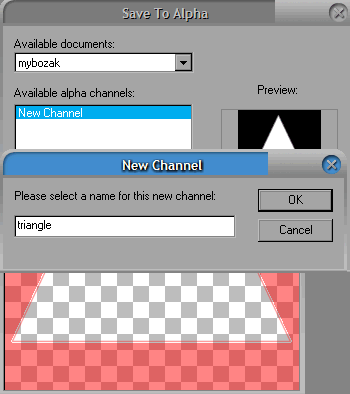
Restore new.jpg you minimized earlier. From the menu bar, choose:
From the menu bar, choose:
Answer Yes to "Would you like the mask merged into the current layer?"
Save as a jpg or psp image.
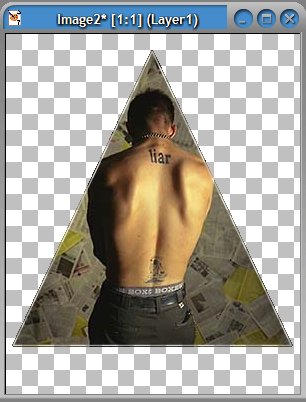
Open the layers palette. Add a layer and move it behind the current layer. (If the current layer is called background, right click on it and choose promote to layer.)
Note: If you have come to this page from the tiled background tutorial, return there now.
Fill the lower layer with the same color as your web page background. Crop the image and save as jpg.
Note: This technique works best with the browser safe palette for background colors. When browsers interpret custom colors differently, the rectangular outline of your true jpg becomes noticeable. Take a look at the corners of the soccer ball image above for an example of corners exposed. Look here for another example. This one looks good on my Dell, but I can see the corners clearly on my Compaq and Gateway.
You've created a transparent jpg!
